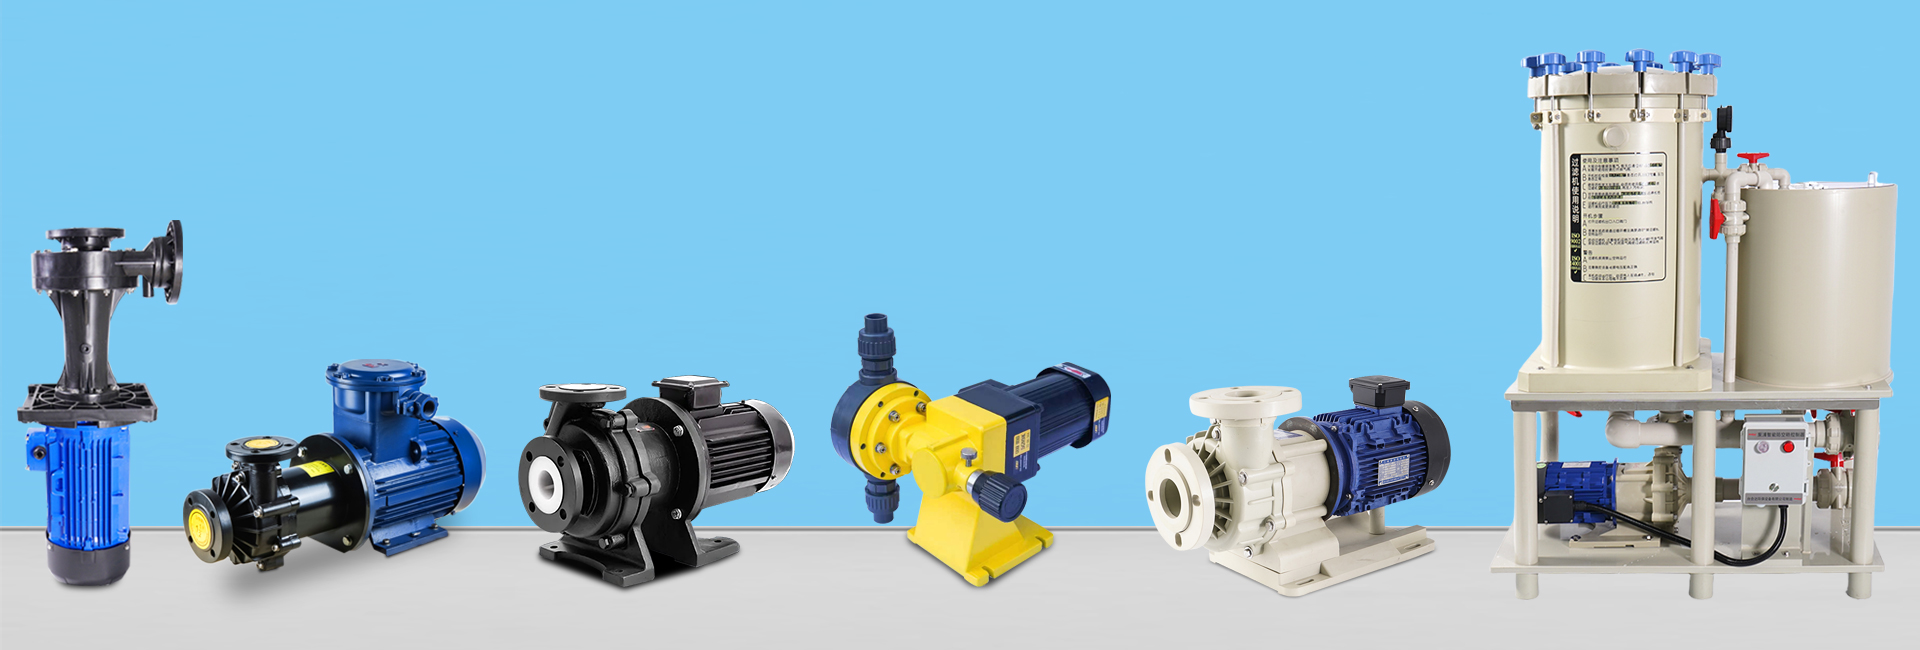


Vertical Pump Seal Replacement Guide: Safe, Accurate, and Leak-Free Installation
Replacing the mechanical seal of a vertical pump requires strict adherence to the process of “Safe Shutdown → Disassembly & Inspection → Standard Installation → Trial Operation.”
The core principle is to ensure the precision of the seal installation and the cleanliness of all components to prevent leakage and extend service life.
1. Preparation Before Replacement
Tools and Spare Parts:
Prepare the following items: spanner, Allen wrench, puller, and a seal installation toolkit.
Ensure the new seal matches the original model, and have on hand: clean cloth, compatible lubricant (one that matches the pumped fluid), and necessary spare parts.
Safety Precautions:
Disconnect the vertical pump’s power supply and hang a “Maintenance in Progress” warning tag.
Close the pump’s inlet and outlet valves.
Drain the internal fluid and release any residual pressure to avoid fluid splashing or injury during maintenance.
2. Core Replacement Procedure
Step 1: Shutdown and Depressurization (Safety First)
Switch off the motor power and ensure it has completely stopped rotating.
Close the suction and discharge valves, then open the drain valve at the bottom of the pump to empty all remaining fluid.
Wait until the pump body cools to room temperature before disassembly.
Step 2: Disassembly of External and Motor Components
Remove the motor mounting bolts on top of the pump.
Use a hoist or lifting tool (such as a chain block) to lift the motor vertically and place it on a clean surface to prevent water or dust from entering the terminal box.
Sequentially remove the coupling, bearing cover, and bearings.
During this step, label all parts (e.g., “upper/lower,” “left/right”) to avoid reassembly errors.
Step 3: Removing the Old Seal
Disassemble the seal housing or gland carefully.
Use a seal removal tool to take out the worn mechanical seal’s rotary and stationary rings, ensuring you don’t scratch the shaft or the seal chamber.
Clean the shaft surface and seal chamber using a soft cloth with alcohol or kerosene, removing any dirt, oil, or seal residue.
Step 4: Inspection and Cleaning of Key Components
Inspect the pump shaft for wear, deformation, or scratches. If damaged, repair or replace it.
Check the flatness of the seal chamber—polish if there are dents or irregularities.
Clean and inspect related parts such as bearings and couplings; replace if excessively worn to prevent early seal failure.
Step 5: Installing the New Seal
Apply a thin layer of compatible lubricant (e.g., silicone grease) on the rotary and stationary seal faces. Avoid over-lubrication to prevent contamination.
Fix the stationary ring into the seal housing first, ensuring perfect alignment.
Slide the rotary ring onto the pump shaft, adjusting until the two faces are fully aligned without deviation.
Reinstall the seal gland evenly, tightening bolts diagonally and uniformly to avoid deformation.
Torque should follow the pump manufacturer’s manual.
Step 6: Reassembly and Trial Operation
Reassemble the bearings, bearing cover, coupling, and motor in reverse order.
Ensure the motor and pump shafts are perfectly aligned, with a coupling gap of 2–4 mm (typical).
Reconnect electrical wiring, confirm all bolts are tight, and gradually open inlet and outlet valves.
Start the pump slowly and observe during test operation:
Check for seal leakage, unusual vibration or noise, and temperature rise (seal chamber temperature should remain below 80°C).
Stop immediately for inspection if any abnormalities are found.
3. Important Notes
Store all disassembled parts separately and keep them clean. The seal faces must not be scratched or contaminated.
When replacing a mechanical seal, ensure that the seal materials are compatible with the pumped medium (e.g., use SiC or ceramic materials for corrosive fluids).
During the trial run, start without load for 1–2 minutes, then gradually increase to rated conditions to prevent damage caused by sudden full-load operation.
Conclusion
Following a standardized seal replacement process is essential for the reliability and performance of vertical pumps. Proper installation not only prevents leaks but also enhances the pump’s operational stability, service life, and energy efficiency.
For industries such as chemical processing, water treatment, and HVAC systems, regular seal inspection and correct replacement procedures are key to maintaining safe and efficient operations.